
WireGuard VPN with IPv6 Setup Guide


In this post, we’ll dive into how to set up WireGuard, a powerful VPN protocol, and configure it for use with IPv6. Let’s get started!
What is WireGuard in Short?
WireGuard is like a secret passage for your internet traffic, working at a low level in your computer's system (primarily Linux). It’s designed for speed and security, ensuring that your data is protected as it travels across the internet.
Here’s how it works:
- Every person or device connected has a special code (public/private key pairs) that acts like a handshake.
- Before communication begins, devices share these codes in a similar way to SSH keys.
- WireGuard encrypts your data using ChaCha20 (encryption algorithm) and Poly1305 (Message Authentication Code, MAC), making it difficult for anyone to eavesdrop.
- It’s minimalistic, with just 4,000 lines of code, making it easy to audit for security.
Installation on Ubuntu
We’re setting up an Ubuntu virtual machine with 1 core (3.2 GHz) and 512 MB RAM to install WireGuard.
- Update and Install WireGuard:
sudo apt update && apt upgrade
sudo apt install wireguard
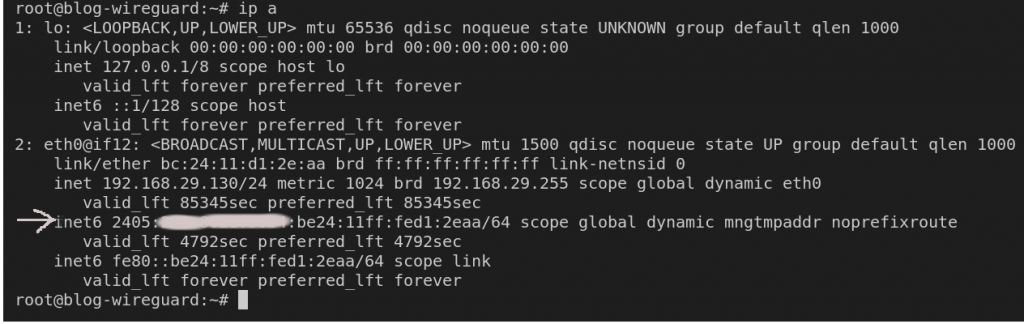
- Get Your Public IPv6 Address:
After installation, you’ll need your public IPv6 address, which usually starts with 2 or 3. Retrieve it with:
ip a
- Navigate to WireGuard Configuration Directory:
cd /etc/wireguard
Generating Keys for Secure Connection
WireGuard requires base64-encoded public and private keys for secure connections. You can generate these keys using the wg command.
- Generate Private and Public Key Pair:
umask 077wg genkey | tee privatekey | wg pubkey > publickey
umask 077ensures that the keys are only readable by the owner (root user).- The keys are saved as
privatekeyandpublickeyin the current directory.
Configuring WireGuard (Server-Side)
- Create
wg0.conffor Configuration:
nano wg0.conf
Add the following configuration:
[Interface] = <Your Private Key>
PrivateKeyAddress = 10.0.0.1/24 = <Client Public Key>
PostUp = iptables -A FORWARD -i wg0 -j ACCEPT; iptables -t nat -A POSTROUTING -o eth0 -j MASQUERADE
PostDown = iptables -D FORWARD -i wg0 -j ACCEPT; iptables -t nat -D POSTROUTING -o eth0 -j MASQUERADE
ListenPort = 51820
[Peer]
PublicKeyAllowedIPs = 10.0.0.2/32
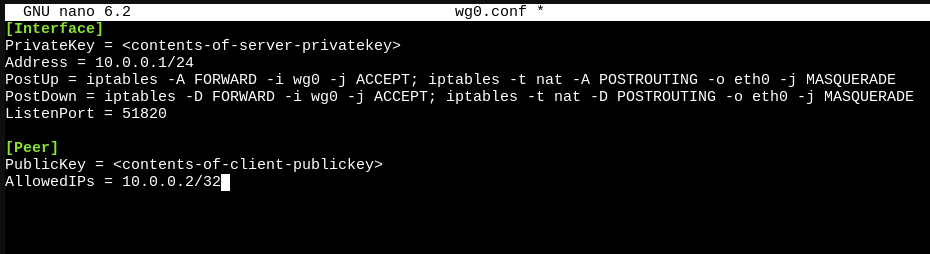
- PrivateKey: Replace
<Your Private Key>with the private key you generated. - PostUp/PostDown: These rules handle the forwarding of traffic between the VPN interface (
wg0) and your server’s network interface. - ListenPort: WireGuard’s default port is 51820 (UDP).
- Start WireGuard Interface:
wg-quick up wg0
Router Configuration (IPv6 Port Forwarding)
To ensure your WireGuard VPN works with IPv6, we need to set up port forwarding in your router. For this example, we’re using JioFiber.
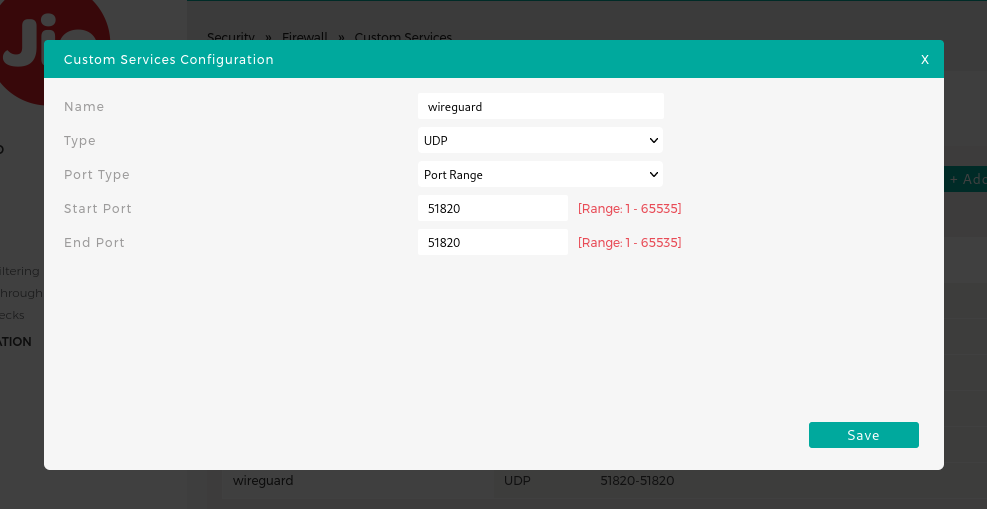
- JioFiber IPv6 Setup:
- Login to your router’s dashboard by visiting http://192.168.29.1.
- Click on SECURITY > FIREWALL > CUSTOM SERVICE.
- Add a new ruleIPV6 FIREWALL RULES for UDP port 51820 (WireGuard’s default port).
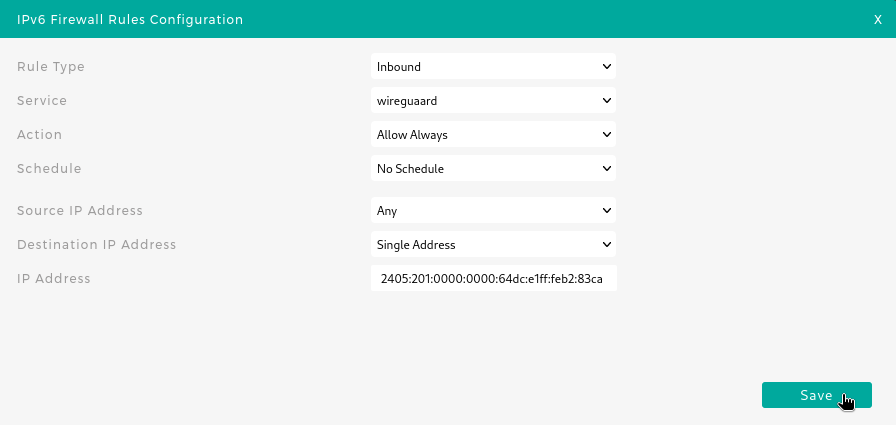
- Next, under IPv6 Firewall Rules, create a new rule allowing traffic to your public IPv6 address.

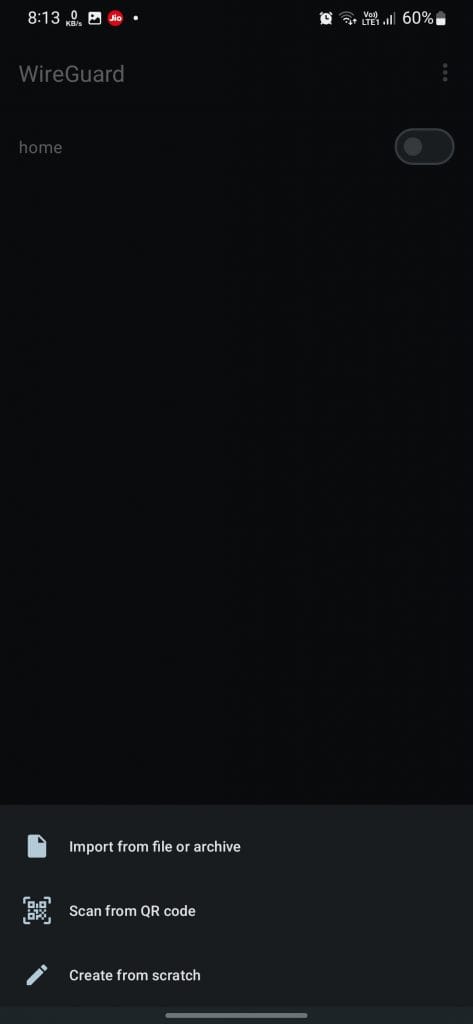
Adding a Client (Mobile Device)
Now that the server is up, you can add clients like mobile phones or PCs to connect to your WireGuard VPN.
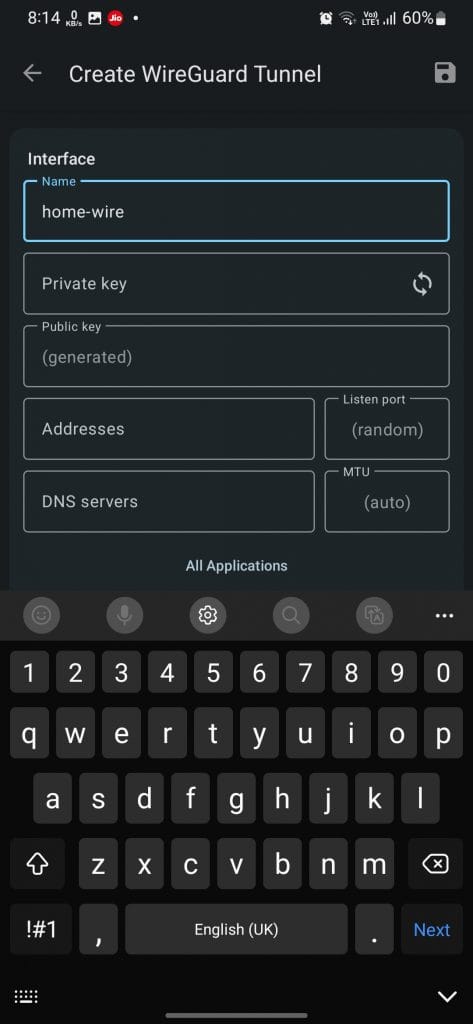
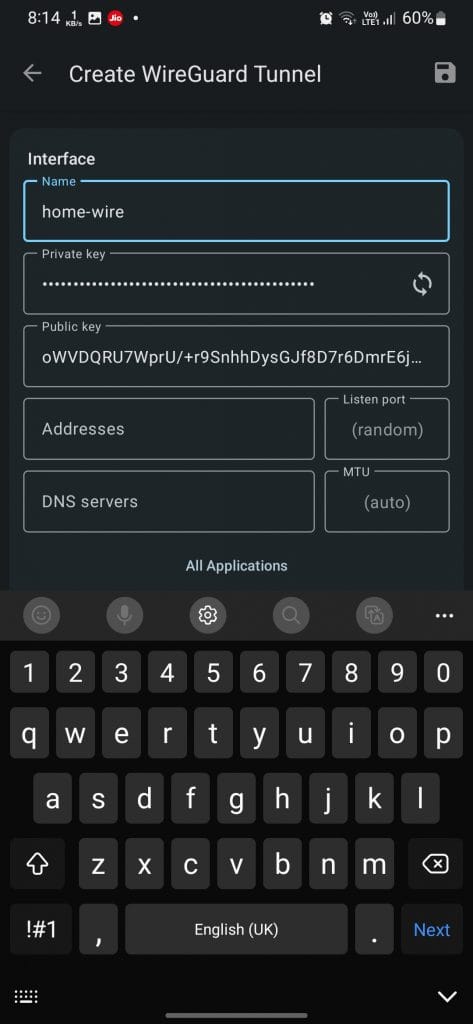
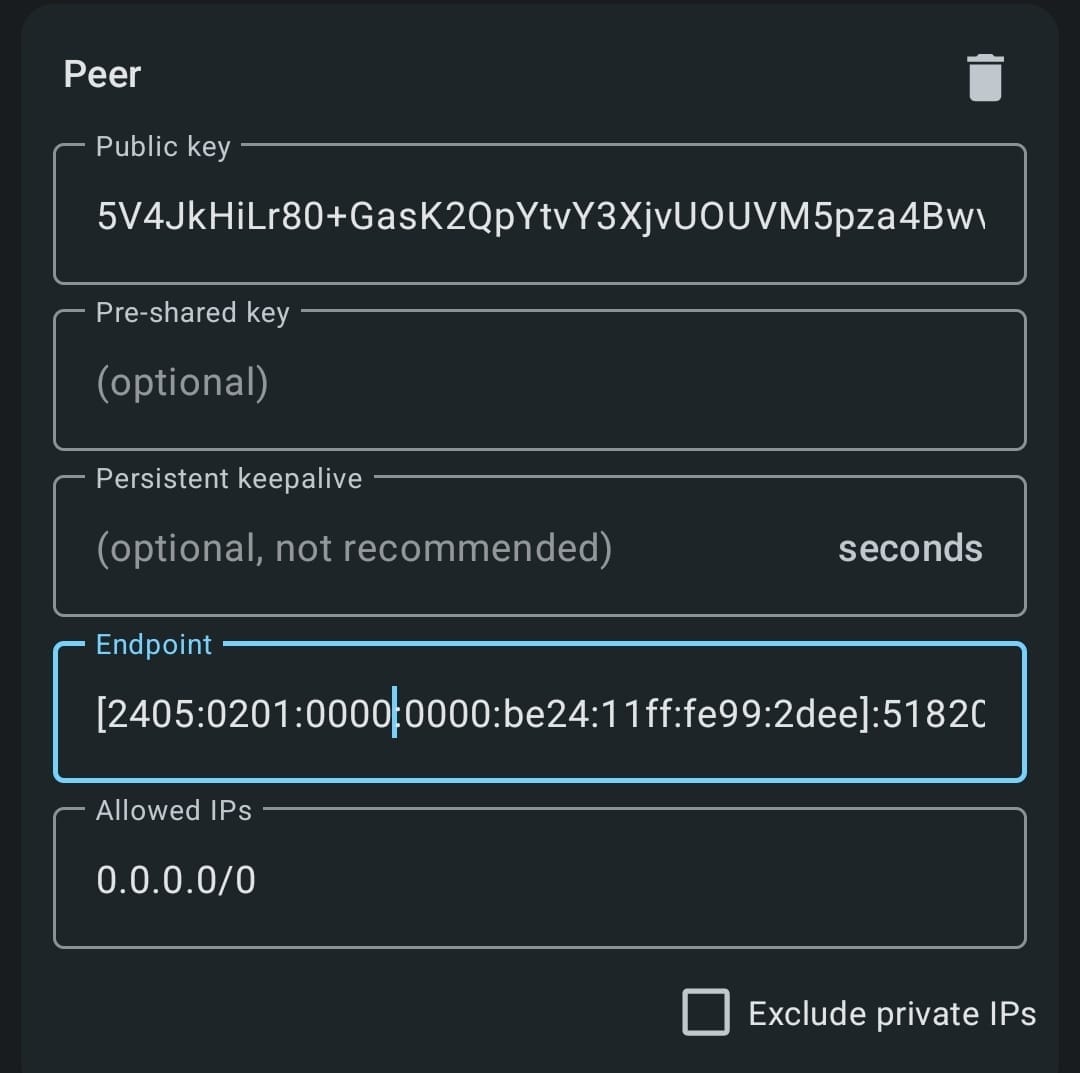
- Set Up WireGuard on Your Mobile:
- Download the WireGuard app from the Play Store.
- Tap Create from Scratch.
- Generate a new private key by pressing the key icon.
- Input your server’s IP and any preferred DNS server (optional).
- Add a peer (server’s public key and IP).
You can repeat this process for additional clients, ensuring that each one has a unique IP within your VPN subnet.
Conclusion
Setting up WireGuard VPN with IPv6 allows for better connectivity, especially with ISPs like JioFiber, which use CGNAT for IPv4 but offer publicly routable IPv6 addresses. With WireGuard’s simplicity and speed, it’s an ideal solution for securing your internet traffic.